2026 How to Use Masking Tape for Perfect Painting and Craft Projects?
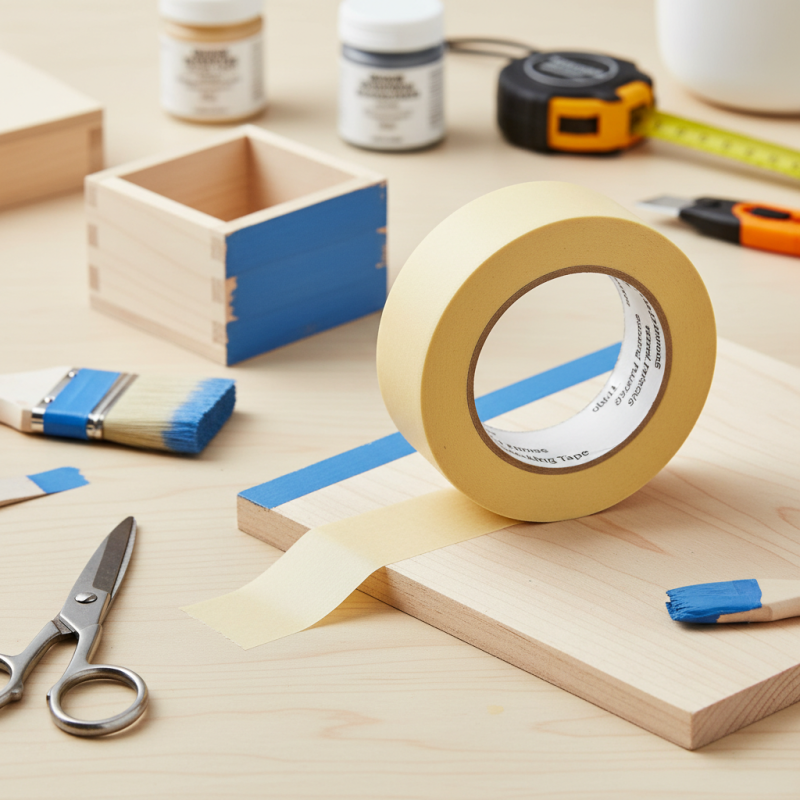
When it comes to painting and crafting, using the right tools is crucial. Masking tape stands out as an essential item for achieving clean edges and crisp lines. Renowned expert, Julia Hart, once stated, "The right use of masking tape can transform any project into a masterpiece." This rings true for both beginners and seasoned artists.
Masking tape is not just a simple material; it has the power to elevate your art. Picture this: you’re painting a delicate landscape. A single smudge can ruin the entire piece. That’s where masking tape comes in. It ensures that every stroke remains perfect. However, using it can sometimes lead to mixed results. If applied incorrectly, it may create unsightly gaps or peel off paint.
Finding the right technique is a journey in itself. Not every project goes as planned. Maybe the tape lifts the paint or doesn’t adhere correctly. These challenges are part of the learning curve. As you experiment, you’ll discover how subtle adjustments can lead to better outcomes. Embracing these imperfections can redefine your creative process, pushing you toward greatness in your craft.
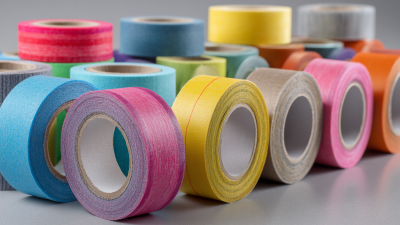
Choosing the Right Masking Tape for Your Project
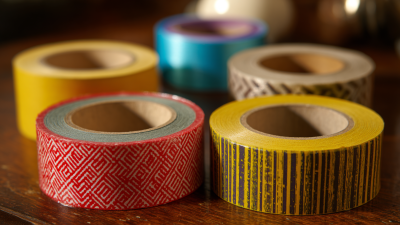
Choosing the right masking tape can significantly impact your painting and crafting projects. According to a recent report by the Paint and Decorating Retailers Association, 45% of DIY projects fail due to poor preparation and materials. Masking tape is often overlooked, yet it plays a crucial role. When selecting masking tape, consider its adhesion level. Specialty tapes cater to different surfaces, including delicate or rough textures.
Look for a tape that offers clean removal. Some tapes can leave sticky residue, ruining your work. Textured surfaces may require heavier duty tape, but be cautious. If the tape is too strong, it might peel off the underlying paint when removed. The right tape thickness is also essential. Thicker tape can handle paint bleed but may be more challenging to apply neatly.
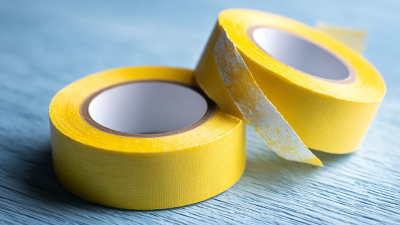
Color can influence tape selection as well. A brightly colored tape can help you see where you've applied it, reducing mistakes. However, not all tapes are suitable for every project. Be mindful of the tape's intended use. Using the wrong tape can lead to frustration and imperfections in your final result. Ultimately, choosing the right masking tape is about balancing various factors to achieve the best outcome.
Preparing Surfaces for Effective Masking Tape Application
Preparing surfaces before using masking tape is critical for achieving a clean finish. First, ensure the surface is free from dust and grease. Use a damp cloth to wipe down the area. According to industry reports, nearly 30% of painting errors stem from poor surface preparation. This statistic highlights the importance of taking the time for proper prep work.
Next, repair any imperfections. Fill holes or cracks with appropriate fillers. Sand the area smooth once dry. Many DIYers underestimate this step. An uneven surface can lead to paint bleeding or peeling. A study shows that 25% of novice painters experience issues due to neglected surface flaws. It’s worth considering.
Lastly, test the tape on a small area before full application. This simple step can prevent major mistakes. Every project presents unique challenges. Reflect on your approach to surface preparation. Evaluate your methods. Are they truly effective?
2026 How to Use Masking Tape for Perfect Painting and Craft Projects? - Preparing Surfaces for Effective Masking Tape Application
| Project Type |
Surface Preparation Steps |
Tape Type Recommended |
Tips for Application |
| Wall Painting |
Clean the surface, fill in cracks, and sand smooth. |
Blue painter's tape |
Press down firmly to avoid paint bleed. |
| Canvas Art |
Ensure canvas is stretched tight and free of dust. |
Masking tape |
Use the edge for clean lines between colors. |
| Furniture Refinishing |
Sand the surface and clean off debris. |
Green tape for delicate surfaces |
Apply tape at an angle for better adhesion. |
| Home Decor Projects |
Wipe surfaces with a damp cloth, and ensure dry. |
Artist tape |
Remove tape while paint is still wet. |
Techniques for Applying Masking Tape Neatly and Precisely
Masking tape can elevate your painting and crafting game. To use it effectively, precision is key. According to recent surveys in the DIY industry, about 70% of DIY enthusiasts struggle with tape application. The right technique can save time and improve results. Start with a clean surface. Dust or moisture can make the tape lift or warp.
When applying tape, hold it at a slight angle, ensuring full contact. This can prevent paint bleed. Studies show that using a firm, steady pressure during application can reduce errors. Additionally, ensuring the tape edges are well-sealed is critical. A small gap can lead to unwanted paint seeping through.
For intricate designs, use a craft knife to trim excess tape. Many users report needing to redo sections due to rough cuts. It’s also common for tape to peel off paint when removed incorrectly. Try to peel at a 45-degree angle for a smoother finish. These techniques can significantly enhance your craft projects, but even the pros face challenges. It's all about practice and learning from each attempt.
Tips for Removing Masking Tape Without Damaging Surfaces
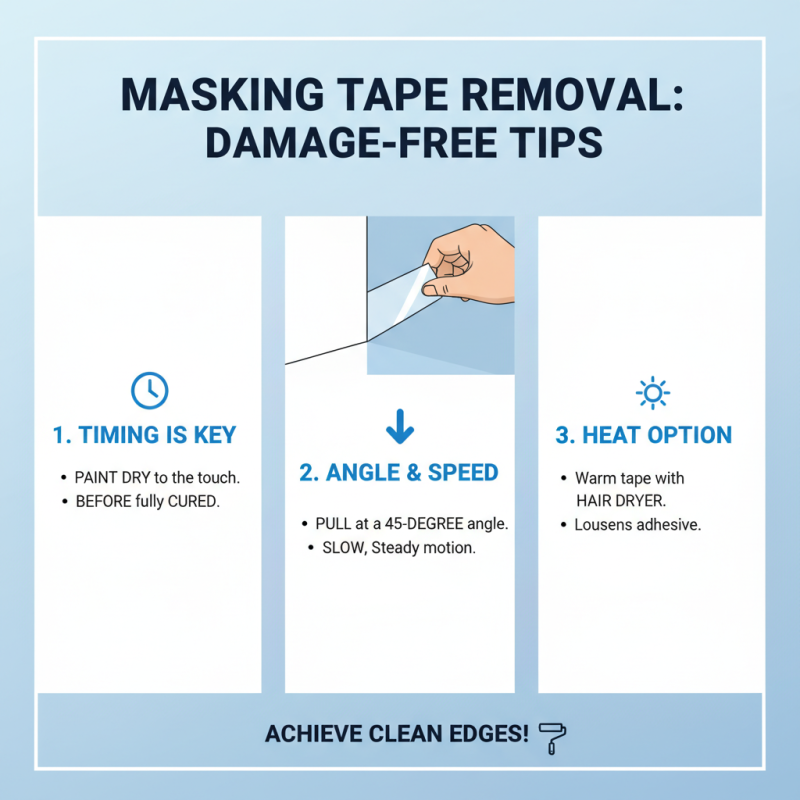
When it comes to painting and crafting, removing masking tape can be tricky. If not done properly, it may ruin your hard work. Following a few simple steps can help you achieve a clean finish. Always wait until the paint is fully dry but not completely cured. This timing is vital to prevent peeling away paint along with the tape.
Use a sharp utility knife to cut along the edge of the tape. This technique helps to free the paint from the tape. Be gentle and cautious. If you press too hard, you could damage the surface beneath. Sometimes tape adhesives can stick too strongly, leading to frustration.
If you're dealing with a stubborn strip of tape, softly pull it away at a 45-degree angle. This method reduces tension, making it easier to remove. If you notice any residue, a bit of rubbing alcohol or warm soapy water can assist. Remember to test any cleaning solution on a small area first. There is a learning curve with this, and sometimes mistakes happen. Reflecting on these little hurdles can actually improve future projects.
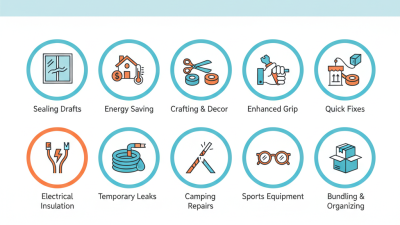
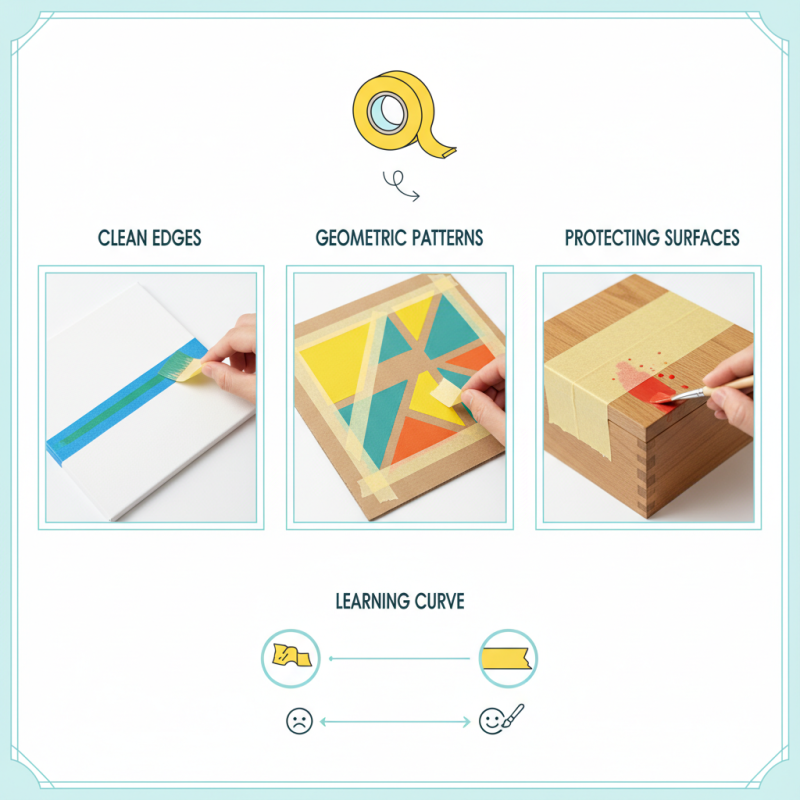
Creative Uses of Masking Tape in Painting and Crafting Projects
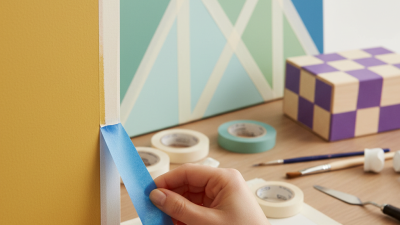
Masking tape is more than a painter's ally; it's a versatile tool for crafting. For painters, it ensures clean lines. Place it carefully along edges to protect surfaces. Even slight misalignments can ruin a project. It’s worth taking a moment to smooth out any bubbles or creases.
In crafting, masking tape offers creative applications. Use it for stencils, geometric designs, or even gift wrapping. The tape holds shapes well while painting or drawing. Remember, imperfect lines can add character. Sometimes, mistakes create the best outcomes. Don't shy away from those unexpected turns. Experiment with patterns. You might discover a new technique that feels right.
Consider using masking tape to create texture. Try layering stripes or shapes for depth. Again, it’s okay if it doesn’t turn out as planned. Reflecting on these moments can enhance your skills. Each project is an opportunity for growth, revealing new ways to utilize this simple tape.